
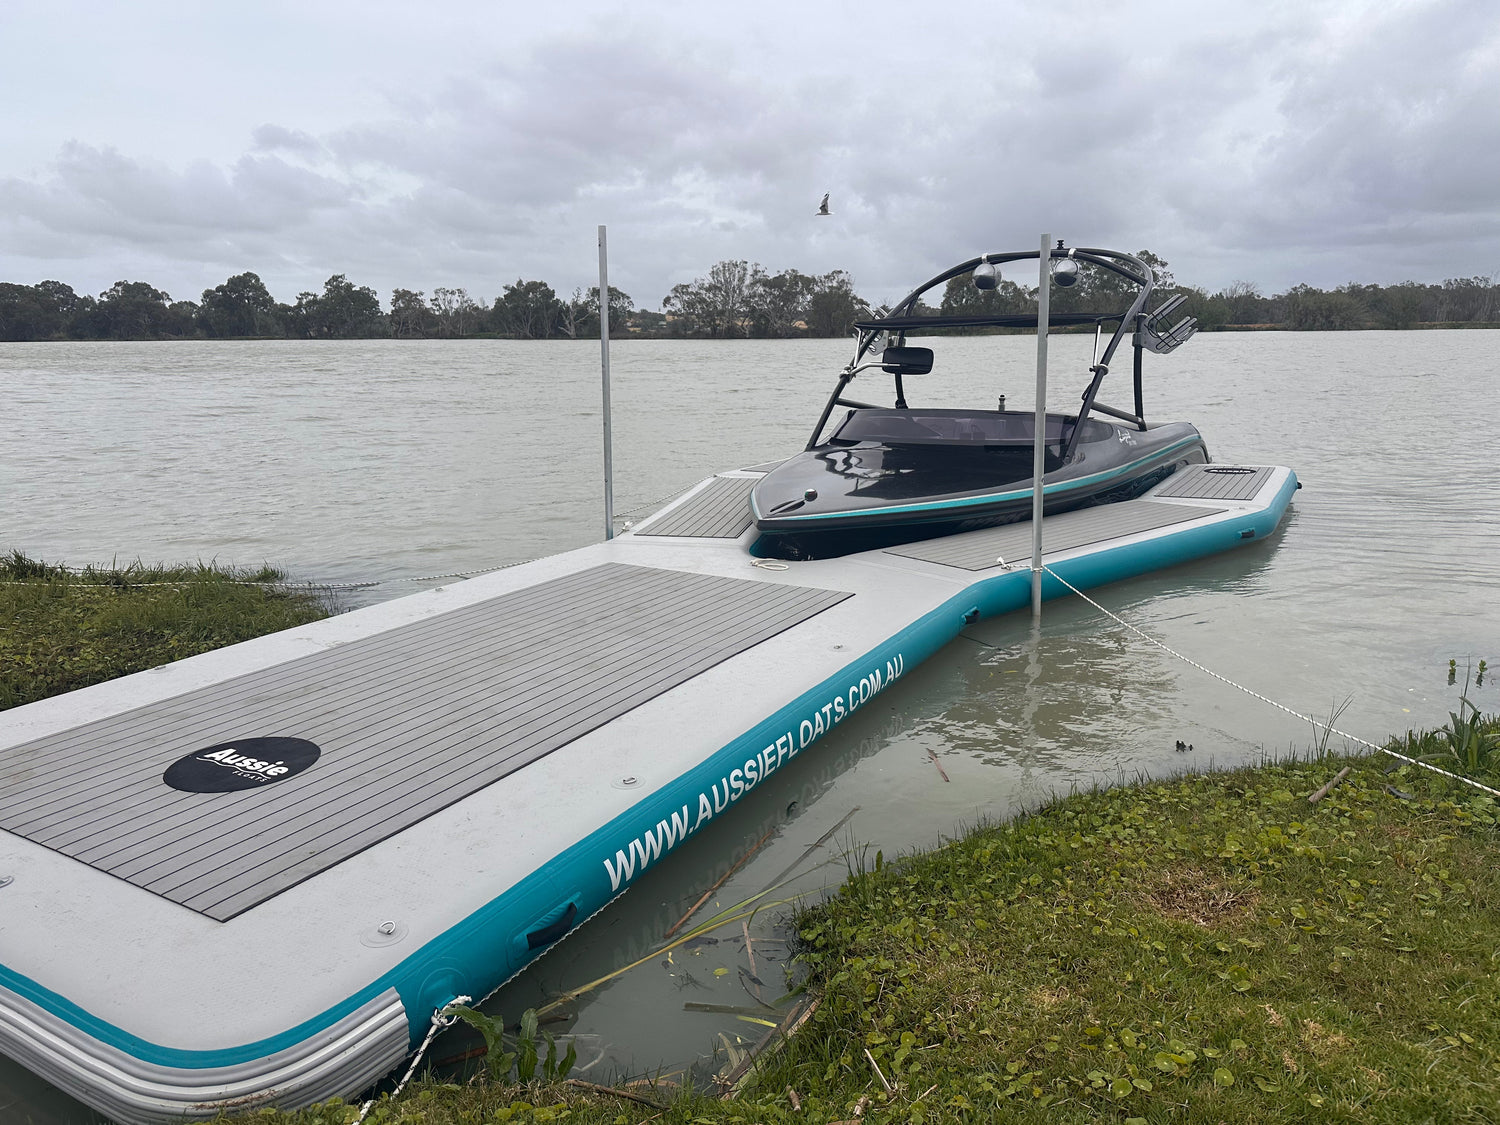
If you've ever watched a pontoon slowly deflate mid-arvo or struggled with setup on launch day, you'll know that inflatable pontoons aren't just "blow it up and chuck it in the water." Whether you're eyeing an Aussie Floats Y-Pontoon for your tinnie or thinking about extending your houseboat deck, getting the setup, safety, and maintenance right can mean the difference between a ripper day on the water and a disaster waiting to happen.
This guide walks you through everything you need to know about inflatable pontoons in Australia, from inflating the thing properly to keeping it in mint condition for years to come.
Setup: Getting Your Pontoon Water-Ready
Pick Your Spot Wisely
Before you even think about grabbing the pump, choose your setup location carefully. You want a calm, stable surface, ideally a dock, grass, or soft sand. The last thing you need is a stick or sharp shell puncturing your brand-new pontoon before it even hits the water.
Walk the area first. Clear away any debris, rocks, or anything remotely pointy. It sounds obvious, but trust me, plenty of Aussies have learned this lesson the hard way.
Gather your gear before you start:
- Electric or manual pump with a pressure gauge
- Repair kit (just in case)
- Your product manual
- A mate (optional but highly recommended for bigger pontoons)

Unfolding and Initial Inflation
Lay your pontoon out flat and unfold it completely. For most Aussie Floats products, you're looking at around 8–12 PSI depending on the model (check your manual for exact numbers). We like them around 10 psi which is super stable.
Watch the Weather
Never inflate your pontoon in direct sunlight on a scorcher of a day unless it's on the water. The air inside expands as it heats up, which can push your pontoon past its safe PSI limits without you even touching the pump.
Once you've hit the right pressure, your pontoon should feel rock solid, genuinely as firm as timber. If you can press it in with your thumb easily, you need more air.
Securing Everything
The best way we've found to secure your Aussie Float is to drive some round pipe into the ground. We then use irrigation pipe around the metal pipe to prevent scratching the Aussie Float. The Aussie Floats Straight Board Walk models come with multiple attachment points which are also handles.
Safety: Keep It Safe, Keep It Fun

Get the Pressure Right
This can't be overstated: proper inflation is your number one safety concern. Underinflate and your pontoon becomes unstable and sluggish. Overinflate and you're putting stress on every seam, especially in warm conditions when the air expands.
Invest in a pump with a built-in pressure gauge. Guessing is a recipe for trouble. Check the pressure before every use, it only takes a minute and could save you from a mid-water drama.
Pre-Launch Checklist
Before you shove off, run through this quick checklist:
- All chambers inflated to spec? Give each one a physical check.
- Valves properly closed? A loose valve cap can slowly deflate a chamber.
When boarding, step into the center of the pontoon. Avoid jumping on from the side or making sudden movements until you've got your balance sorted.
Essential Safety Gear
This isn't negotiable. Every person on your pontoon needs a properly fitting life jacket, yes, even if you're a strong swimmer. Australian waters can be unpredictable, and conditions change quickly.
Keep these on board:
- Life jackets for everyone
- First-aid kit
- Flares or emergency signals
- Anchor (especially for larger setups like the Houseboat Back Deck Extension)
- Mobile phone in a waterproof case
- VHF radio if you're heading offshore
Know Your Limits
Every inflatable pontoon has a maximum load capacity. Exceeding it isn't just bad for performance: it's genuinely dangerous. Factor in people, gear, esky, and that extra mate who always shows up uninvited. If you're close to the limit, someone stays on shore.
Weather is another biggie. Inflatable pontoons are brilliant in calm conditions but can become sketchy in choppy water or high winds. If the forecast looks dodgy, postpone. It's not worth the risk.
Maintenance: Make It Last
Spotting Leaks Early
Even the best pontoons can develop slow leaks over time. If your pontoon feels a bit softer than usual after a day on the water, it's time to investigate.
The old-school soapy water test is still the most reliable method. Mix up some dish soap and water, inflate the pontoon fully, and brush the mixture over the surface. Bubbles forming? You've found your leak.
Common leak spots:
- Valve seals
- Seams (especially where chambers meet)
- Areas that rub against hard surfaces
- Anywhere you've scraped against a dock or rocks
Quick Repairs
Minor punctures are easy to fix if you catch them early. Your repair kit should include patches and marine-grade adhesive.
Here's the process:
- Deflate the chamber (just the affected one if possible)
- Clean and dry the damaged area thoroughly
- Scuff the surface lightly with fine sandpaper: this helps adhesive bond
- Apply glue to both the patch and the pontoon
- Press together firmly and hold for 30 seconds
- Let it cure for at least 24 hours before re-inflating
Don't skimp on curing time. Rushing this step means you'll be patching the same spot again in a week.
Post-Use Cleaning
After every outing, rinse your pontoon with fresh water. Salt, dirt, and algae can degrade the material over time, especially in our harsh Aussie sun.
Pay special attention to:
- Valve areas (salt buildup can prevent proper sealing)
- Seams and joints
- Any textured surfaces that trap debris
Let it dry completely before packing away. Storing a damp pontoon is asking for mold and mildew.
Proper Storage
When deflating, open the valves and press gently to release air evenly. Don't rush: forcing air out can stress the material. Once deflated, fold it loosely to avoid permanent creases. Sharp folds weaken the fabric over time.
Storage tips:
- Keep it in a cool, dry place away from direct sunlight
- Store in the carrying bag that came with it
- Don't stack heavy items on top
- Keep your repair kit stored with the pontoon for quick access
- Check on it every few months, even during off-season
UV damage is real in Australia. If you're storing outdoors (not ideal), use a UV-resistant cover.
Regular Inspections
Every few months, give your pontoon a once-over. Check valves, inspect seams, and look for any discoloration or material degradation. Catching issues early means simple repairs instead of costly replacements.
Why Aussie Floats?
The beauty of modern inflatable pontoons like the Y-Pontoon range is that setup and pack-down genuinely takes just a few minutes with a decent electric pump. You're not wrestling with heavy timber or dealing with council approvals for permanent structures.
Whether you're a weekend warrior launching from different spots around the Murray or a houseboat owner wanting extra deck space, inflatable pontoons offer flexibility that traditional setups can't match.
The key is treating them right. Follow proper setup procedures, respect safety guidelines, and keep up with basic maintenance. Do that, and your pontoon will give you years of reliable service on Australian waters.
Got questions about which Aussie Floats product suits your needs? Hit up our contact page: we're here to help you get the right setup for your adventures.